
Installation Zendesk integration step 2
[wpseo_breadcrumb]
Step 2: How do you perform the configuration in Xelion?
- Go to the SmartXPS environment and log in with your SmartXPS Xelion services account. If you do not have a account yet, click here.
- Click on the “add application” button in the left menu.
- Under CRM links, search for Zendesk and click on the “configure now” button.
- Enter the e-mail address of the person for whom the configuration is.
- Enter the API token from step 1.
- Enter the following for the Zendesk URL: https://companyname.zendesk.com/, with your own company name.
- Agree to the conditions.
- Click on “Request now”.
- If all information is entered correctly, the page will now be supplemented with your Zendesk account information. This is a sign that the link is active.
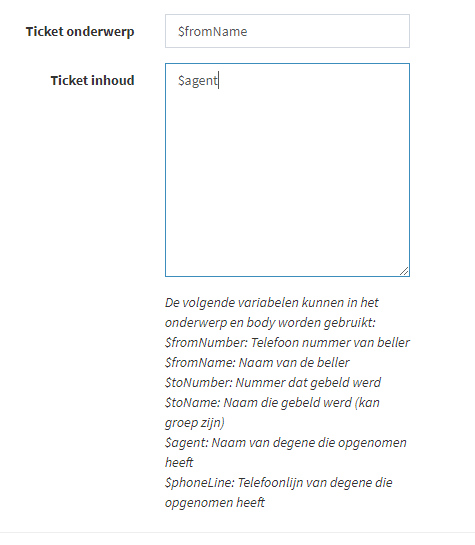
- Choose which view of your ticket subject and ticket content you want, by using the variables that appear below the fields.
- Do you use Zendesk Talk? Then check the option “Zendesk Talk active”.
- Click Update.
- If you use Zendesk Talk, click on the button that appears under Zendesk Talk active.
- A new screen opens where you, your Xelion users can link to your Zendesk users.
Xelion is now linked to your Zendesk application.
